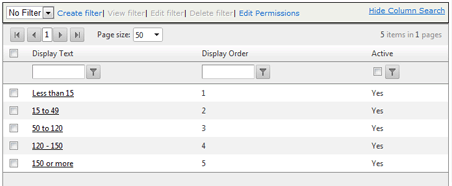
Droplist Configuration

The contents of many of the droplists can be customized to meet your specific
needs. Droplists contain the choices available for a specific field. The
options available in a drop-down list, radio button choices, and checkbox
choices are all examples of fields that contain droplists.
To customize the contents of a droplist:
- Log on as a user with DROPLIST CONFIGURATION permission.
- Go to System > System Setup > Droplist Configuration.
A list of fields containing droplists that can be customized is displayed.
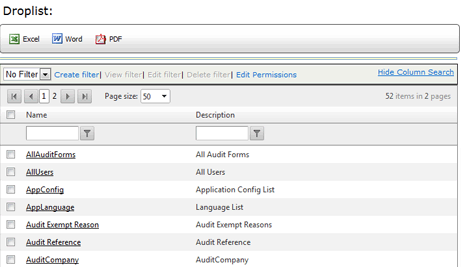
- Select the list that you want to edit.

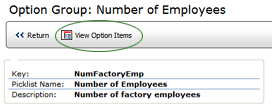
- Click the VIEW OPTION ITEMS button. (Note that clicking the EDIT
button allows you to edit the name or description of the list, not
the contents of the list.)
- Select the option that you want to edit.
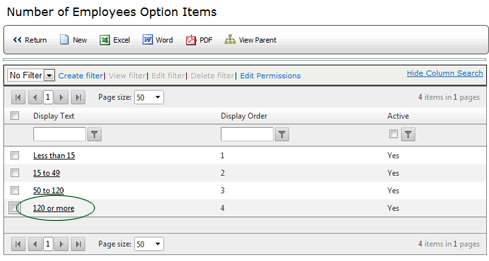
- Click the EDIT button.
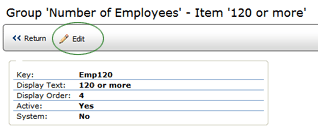
- In the DISPLAY TEXT field, make the desired changes to the text
that is displayed.
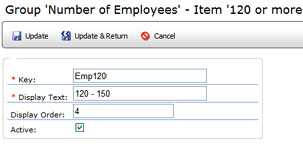
- Click UPDATE & RETURN.
To add a new entry to the droplist:
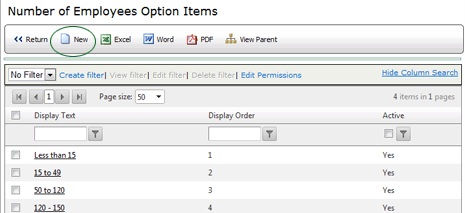
- From the Option Items list, click the NEW button.
- In the New Item screen, enter a Key for this option. This value
is used internally as an identifier for this option item, similar
to a User ID or Location ID.
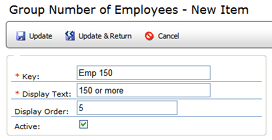
- In the DISPLAY TEXT field, enter the text that you want displayed.
- You may select the position in which you want this option to display.
Note that if duplicate orders are specified (e.g. more than one option
is assigned to the same position), then those options will be ordered
alphabetically, according to the position assigned. In other words,
all options assigned "0" will be listed first in alphabetical
order, then all options assigned "1" will appear next in
alphabetical order, and so on. By default, all options are assigned
to position "0", so if you don't specify an order, then
all options will appear in the droplist in alphabetical order.
- By default, the ACTIVE checkbox is selected. If for some reason
you do not want this option to be available yet, be sure to deselect
it. You may come back to this screen at a later time and activate
this option.
- Click the UPDATE & RETURN button. The list is updated with
the new option name.
