Contacts

When you click on the CONTACTS tab, a list of general contacts, as well
as any buyers who may be associated with this location, is displayed.
From this page you may add, delete, or edit the contacts list.
ADDING A CONTACT
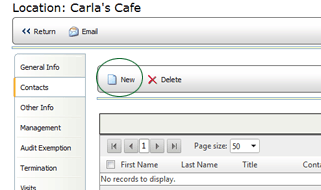
- Click the CONTACTS tab on the left.
- Click the NEW button. The Add New Contact Wizard opens to guide
you through the process of adding a contact.
- Select the CONTACT RELATION TYPE.
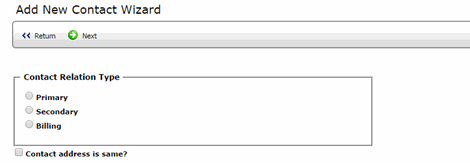
- If the contact address is the same as the location address, check
the CONTACT ADDRESS IS SAME checkbox.
- Click the NEXT button at the top of the page. The CONTACT
GROUPS page displays as shown below. Using Contact Groups is an optional
feature within the application. It allows you to set up a group of
business contacts who will receive email notifications about audit
results regardless of the recipient's Relation Type. If your organization
uses Contact Groups, see Creating
a Contact Group.
If your organization does not use Contact Groups, click the NEXT button
on the Contact Groups page and continue with Step 6 below.

- Enter the information in the required fields noted with a red asterisk
(*) ensuring that you populate
the other text fields as you need. Note that if you checked
the CONTACT ADDRESS IS SAME checkbox on the previous page, the location's
address fields are on the right.
- The CONTACT TYPE field droplist is populated with the Contact Type
that you selected on the previous page. However, if necessary, you
may change that selection here.
- Check the EMAIL CC checkbox if this is a secondary or a billing
contact and you want this person to be copied in on any email that
is sent regarding this location.
- You may add notes in the COMMENTS field.
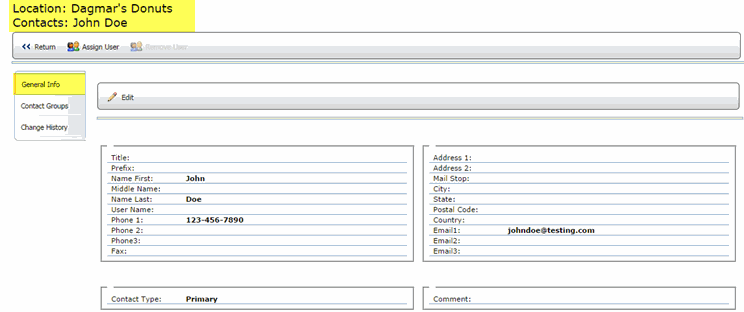
- When all information has been provided, click the SAVE button.
The contact information that you entered will display on that location's
GENERAL INFO tab. NOTE: The names of the location and the new contact
will display at the top of the page.
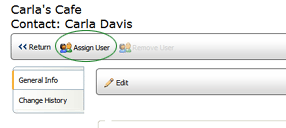
To associate this contact with a user who is already in the system,
click the ASSIGN USER button. Locate the user in the list, then click
the SAVE button.
 |
You may use
the Search filters to locate the user. |
To remove the association between the contact and the user in the system,
click the REMOVE USER button. The user associated with the contact is
removed.
 |
Contacts may
or may not be users in the system. |
CREATING A NEW CONTACT FROM AN EXISTING
USER
- On the CONTACTS tab, click the CREATE CONTACT FROM USER button.

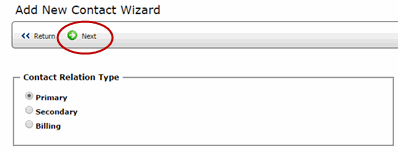
- Select the CONTACT RELATION TYPE, then click the NEXT button.
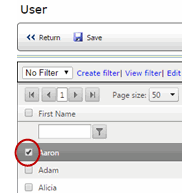
- From the User list, check the box beside the user you want to add
as a contact for this management record.
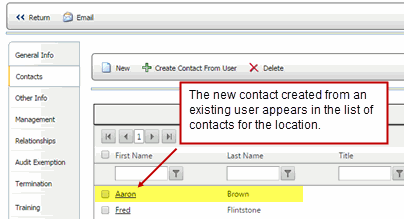
- Click the SAVE button. The user you selected will appear in the
list of contacts for the location.
EDITING A CONTACT
- Click the CONTACTS tab on the left.
- Click on the contact that you want to edit.
- Click the EDIT button.
- Make the necessary changes.
- Click the SAVE button.
The changes are saved.


