
OPTIONAL FEATURE - Contact your RizePoint representative to enable/disable this option. |
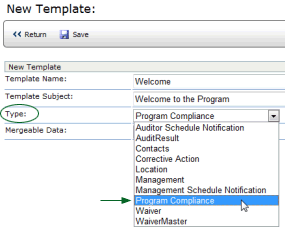
Before you can configure the notifications for a program, you must have already created the email templates to use, so this is the first step in setting up the notification system. Each type of notification in the Program Compliance system triggers an email, which must be predefined through a template.
Note that a default template for each notification type has been provided for you, but you may edit the template if required. You may also create additional templates for any of the notification types.
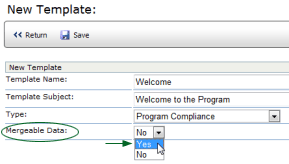
To create a new template:


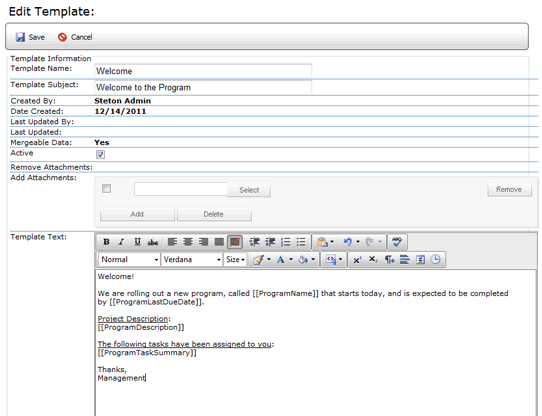
Replacement tags are simply placeholders that will be replaced by actual data. They allow you to create an email that can be personalized for multiple recipients. For example, the tag [[LOCATION]] will be replaced with the actual name of the location to which the email is being sent.
| You will need a separate template for each type of notification. |
To edit an existing template:


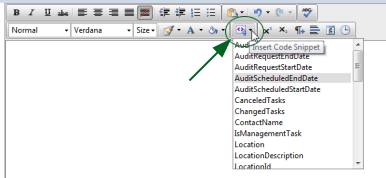
You may use the INSERT CODE SNIPPET button to insert mergeable data
fields into the text section of the template, or you may enter the
replacement tag directly. See Replacement
Tags for a list of all tags available for use in the Program Compliance
system.


ref: Programs