

Users with LANGUAGE ADMINISTRATION permission can provide support for multiple languages, including double-byte languages, in a single RizePoint implementation. You can add different language sets for various components in the application. Because you provide the translations, you are not limited in the language sets you create. In addition to foreign languages, for example, you may also want to provide your organization's internal terminology as a distinct language.
The following steps are required:
| CREATE A NEW LANGUAGE FILE AND SPECIFY A DEFAULT LANGUAGE |
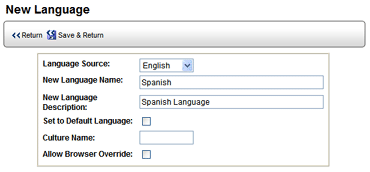
Only one language may be designated as the default language. Checking this box replaces the previous default language with this language.
| Even though you may want this language to be the default language, it is recommended that you wait until the translated language file has been imported before setting it as the default language. Then, once you've imported the translation into RizePoint, you can come back to this dialog and select this language as the default language. |

| If you delete a language that is currently assigned to a user, the language designated as the default becomes the language assigned to that user. |
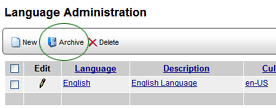

| If you delete a language from the archive, it cannot be restored. |
| EXPORT THE LANGUAGE SET |
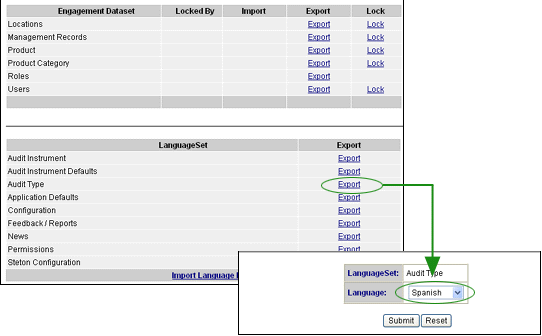
If the data opens in a browser window instead, save the contents of the browser window as a Text File (.txt) with Unicode encoding. (This situation may occur when using older versions of a browser.) 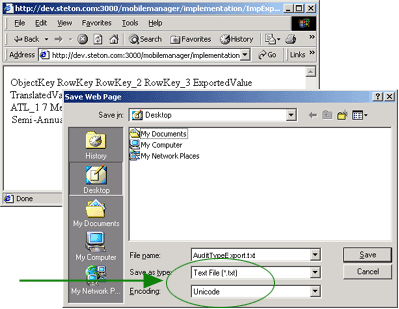 |
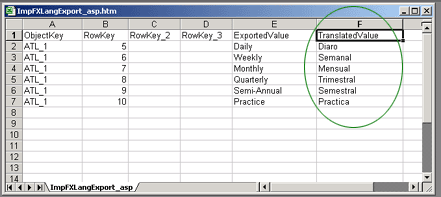
| TRANSLATE THE DATA |
| IMPORT THE TRANSLATED LANGUAGE SET INTO RizePoint |
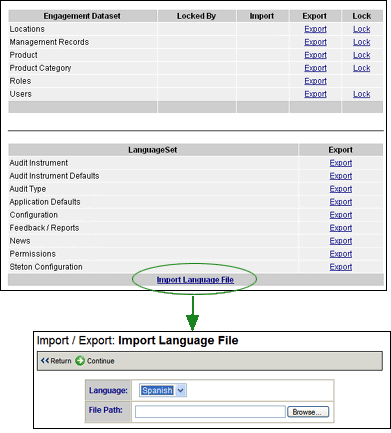

| Once the data is imported, any subsequent changes made to the application become part of all other language sets. For example, if the current language is English and a new Audit Type named TEST is created, that audit type will appear as TEST in all languages. The application does not make any internal translations. Translations must be handled through the Import/Export functionality in System > Language Setup. However, when existing labels are modified with the Edit icon (pencil) or when changed through the RizePoint Configuration functionality in System > Language > Application Labels, changes are made to the current language only. |
| ASSIGN THE LANGUAGE TO USERS |
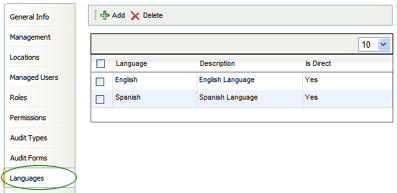
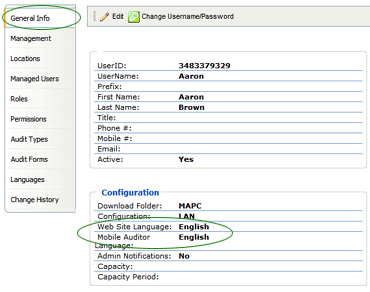
Once you've created a new language file, translated it, and imported it back into RizePoint, you'll need to determine which users or roles will require access to it. When a user is first created, the language specified as the DEFAULT language in System > Language > Language Configuration is assigned as both the Web language and the Mobile Auditor language. However, administrators may change either of these language assignments to any other language available. (Note that you may also assign a language to a user on the Language tab on the User Profile.)
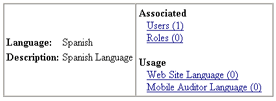
ASSOCIATED - displays the number of users and roles who have been associated with this language on the Language tab of the user or role profile page. To change the users or roles associated with this language set, click the USERS or ROLES link.
USAGE - displays the number of users with this language as their default website language and the number of users with this language as their default Mobile Auditor language (as specified in the Configuration section at the bottom of the GENERAL INFO tab of the User profile page). To change the users using this language as their default website or Mobile Auditor language, click the appropriate link.
Keep in mind that users with LANGUAGE SELECTION permission may change their own website language to any language to which they have been given access. All languages associated with a user appear in a drop-down list when Accessories > Language Selection is selected on the menu bar. If you don't want a user to have access to a specific website language, be sure to remove the user's association with this language, either through LANGUAGE tab of the User Profile, or through the ASSOCIATED link on this page, as described above. Also note that although users with this permission may change their website language, they may not change the Mobile Auditor language assigned to them.
