Preparing to Use the Scheduler

A few setup steps are required prior to using the scheduler. For example,
you will need to determine who will need access to the scheduler and what
permissions they will require. You may want to allow auditors to create
their own schedules, or you may require that managers create schedules
for all auditors within their division or region.
 |
For a list
of all permissions including those associated with the Schedule
group, see the Permissions
List. |
Setting Schedule Permissions:
- Log on as a user with USERS/ROLES permission.
- Go to System > Manage People > Roles.
- Determine who will need to create, view, and/or import schedules,
and who will need administrative permission. Locate and select the
role that applies to those users. (You may work with only one role
at a time.)
- Select a role to open the Role Profile page, then click the PERMISSIONS
tab.
- Click the ADD button.
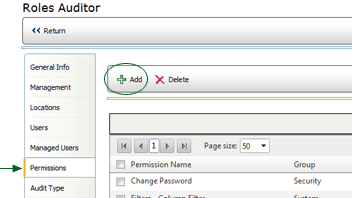
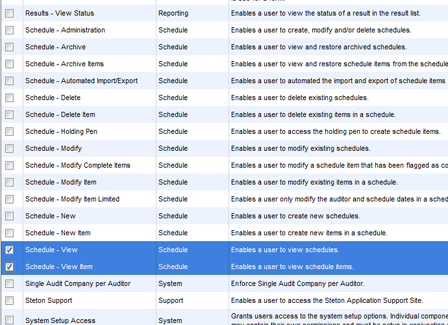
- Select the appropriate SCHEDULE permissions for the selected role.
Note that permissions have been broken down into various steps so
that you can allow only managers or administrators to create a schedule,
but still allow users to add schedule items (audits) to an existing
schedule.
- Click the SAVE button.
Repeat this process for each role that requires special permissions.
 |
You may assign permissions directly to users
as well. However, by assigning permission to the entire role,
all users within the role are assigned the permissions automatically.
Otherwise, you must assign permissions to each user individually. |
Providing Access to Schedules
Access to schedules is controlled through role assignments. All schedules
listed on the SCHEDULES tab are available to all users assigned to the
role. Ensure that users who will be scheduling audits are assigned to
a role with access to the proper schedules.
- Log on as a user with USERS/ROLES permission.
- Go to System > Manage People > Roles.
- Click the SCHEDULES tab. A list of schedules currently accessible
to users assigned to this role is displayed.
- Click the ADD button.
- Select the schedules to which users assigned to this role can access.
- Click SAVE.
Users assigned to this role will now have access to this schedule.
Determining Managed Users
Administrators or managers can define schedules for anyone who is in
their Managed Users list.
- As a user with USERS/ROLES permission, go to System >
Manage People > Users.
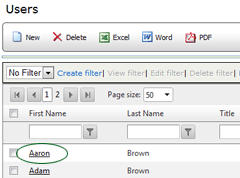
- Select the user who will be required to manage other users' schedules.
The User Profile page opens.
- Click the MANAGED USERS tab to display a list of existing managed
users.
- Click the ADD button.
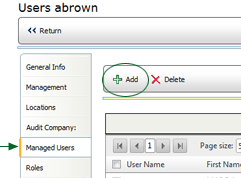
- Click the checkbox beside the user name of each user that will
be managed by this manager.
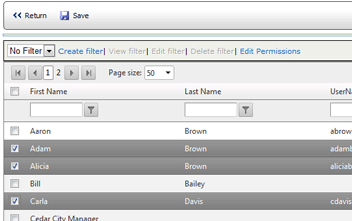
- Click the SAVE button.
Setting a User's Audit Capacity
You may limit the number of audits that a user may conduct during a
specified period of time. If you attempt to schedule more than the maximum
number of audits, an error message will be displayed.
- As a user with the USERS/ROLES permission, go to System
> Manage People > Users.
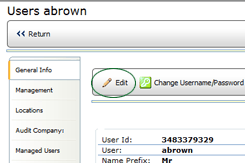
- Select the user.

- On the General tab of the User Profile, click the EDIT button.
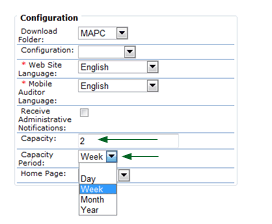
- In the CAPACITY field at the bottom of the window, specify the
total number of audits that this user may conduct during the time
period specified in the drop-down list.
- Click the SAVE button.


