

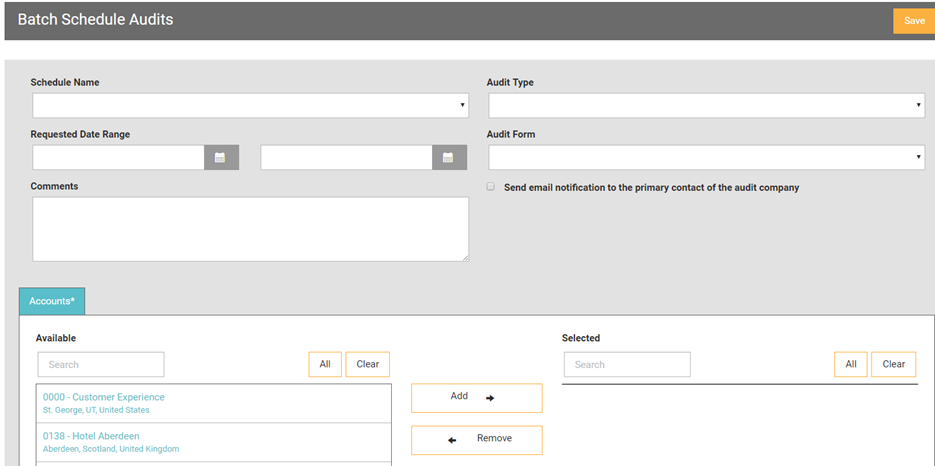
2. From the dropdown menu, select the SCHEDULE NAME of the appropriate
audit to be conducted. The list of schedule names is configured from the
schedule(s) that have previously been set up. Schedule names display in
the order they were entered. To set up a schedule, see Schedule
Setup.
In the example below, the selected Schedule name (highlighted in blue) indicates that the audit will be conducted in October 2016 by Audit Company #01.

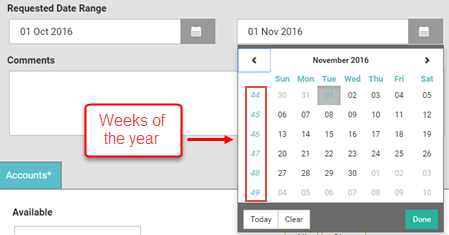
3. Navigate to the REQUESTED DATE RANGE fields and use the calendar picklist
to select a specific start date and a specific end date. The audit should
occur some time between these two dates. Notice that the calendar also
displays the weeks of the year in the far left column.
4. If necessary, enter comments in the COMMENTS
field. Comments entered here will be available to all users.

| Comments entered
into this field will be seen by all users. You may enter separate,
internal comments at the location level for users who have been
granted the following permission: SCHEDULE - SCHEDULE INTERNAL
NOTES: Allows access to the internal notes of a schedule request.
To enter internal comments:
|
5. Select the location(s) at which the audit will be conducted. This
is a responsive search field. Type a keyword to search and filter the
listing, then click on the appropriate locations. Select ALL if the audit
will be conducted at all locations in the list. If you need to add more
locations, remove your search text from the field to begin another search.
If you select a location, it will display with a gray highlight. To de-select
a location, click it again.
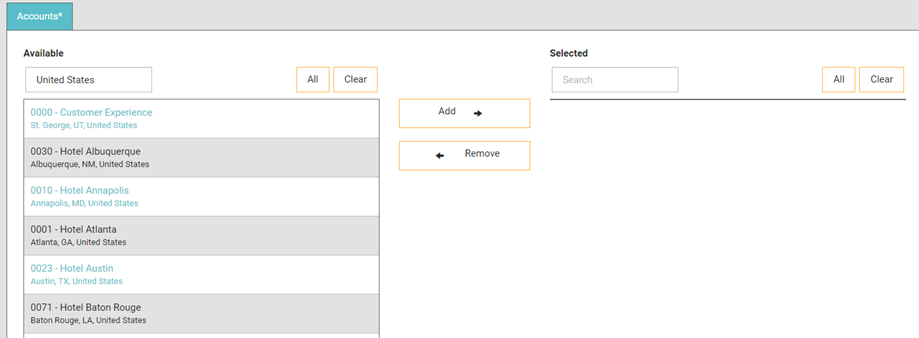
6. Click ADD. The selected locations will be removed from the list on the left and will display on the right.

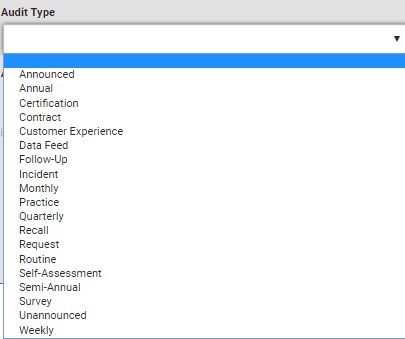
7. Select the appropriate AUDIT TYPE from the drop-down list.
8. Select the appropriate AUDIT FORM from the drop-down list.
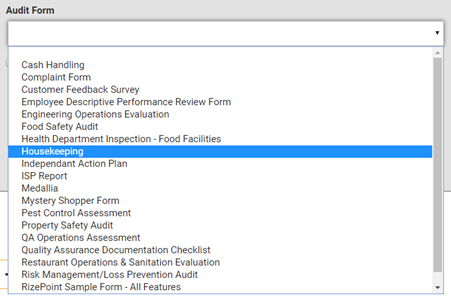
RizePoint validates
that the audit form you selected is assigned to the location(s)
(accounts) you identified. If an location has not been assigned
the audit form you selected, an INVALID ACCOUNTS dialog box will
display (see below). Click YES to have the invalid account(s)
(location) automatically removed from your list of sites to receive
the audit. Click NO to return to the BATCH SCHEDULE AUDITS screen.
From here you will need to assign
the form to the invalid account (location(s)).
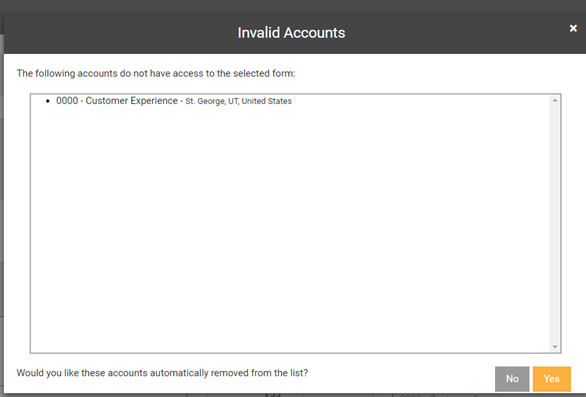
|
9. OPTIONAL: Click the checkbox next to the SEND EMAIL NOTIFICATION TO THE PRIMARY CONTACT OF THE AUDIT COMPANY if you want the primary contact at the audit company to receive notification about the audit(s). The RizePoint default template uses replacement tags to identify the schedule name, audit type, audit form, and the requested date range. (See default email below.) If you included comments in the Comment field, they will be included in this notification email.
Edits to the batch notification template can be made by a user with the appropriate permissions. The template name is BATCH SCHEDULE NOTIFICATION. See Templates.


10. Click SAVE in the upper right corner.

