
Before you begin to define the management hierarchy of your organization,
see Setting up a Management Structure.
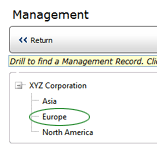
Start by creating the management record or records at the highest level. An organization with a single management structure may only have one management record at this level, with all other records "nesting" below it. However, an organization that provides auditing services for multiple organizations may have many management records at this top level.
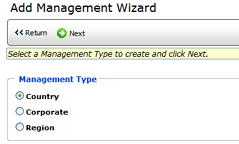
Before you create any management records, be sure to define labels for the various types of management.
Note that there is more than one way to add a management record.
-- OR --
ADDING A NEW RECORD DIRECTLY TO THE PARENT MANAGEMENT RECORD
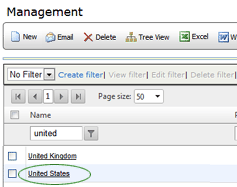
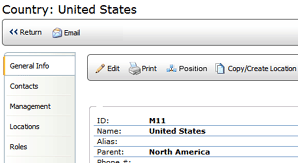
If the country you require does not appear, go to the System > System Setup > Droplist Configuration, locate the COUNTRY droplist, and add the required country. Then return to this page and select the appropriate entry from the list. (NOTE: Click SAVE to save your work here before going to Droplist Configuration.)

Separate multiple domain names with a semicolon. The number of domains that you may enter depends on the length of the domain names. You may enter up to 4000 characters in this field.
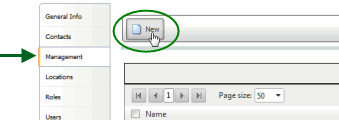
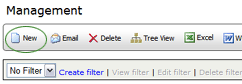
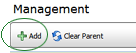
ADDING A NEW RECORD DIRECTLY TO THE MANAGEMENT LIST
Once you have created a new record in this manner, you'll need to:
SETTING THE POSITION IN THE MANAGEMENT HIERARCHY (Specifying a Parent Management Record)
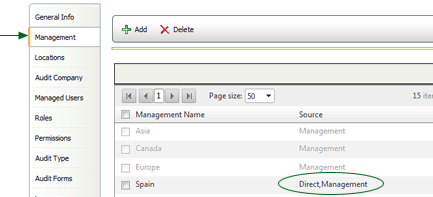
A management record may have several other management records, or child management records, below it. It is important that the top management record, or parent management record, have access to the records below it in the management hierarchy. When you create a new management record, if it belongs to another management record (if it is a "child" of another record -- perhaps also referred to as a division or an agent of the parent record), you MUST specify who the parent record is. If you fail to do so, the parent management record will NOT have access to management records below it.
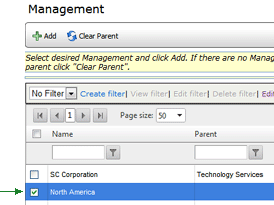
The record is placed in the management hierarchy under the record
you selected. The management record you selected becomes the "parent"
of the current management record.
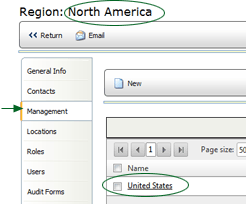
If you now go to the MANAGEMENT tab of the parent record, you will see
the management record listed there.
To remove the record from the hierarchy:
The relationship with the parent record is removed, and the record is now placed at the top level of the management hierarchy.
REMOVING DIRECT ACCESS TO A MANAGEMENT RECORD
If you added a new management record directly from the Management list,
you'll have direct access to that record. It becomes obvious that direct
access exists if you view the Management list in Tree View. All records
to which you have direct access appear at the top level of the hierarchy.

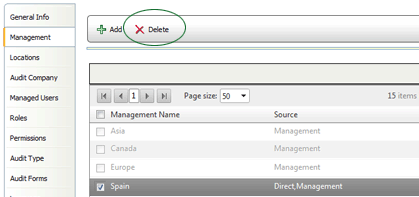
| This does not delete the record from the system; it merely removes direct access to the record. |
Now if you return to the Management list and click the TREE VIEW button, you'll see that the record is removed from the top level, indicating that direct access to the record no longer exists.
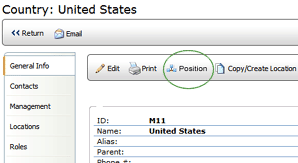
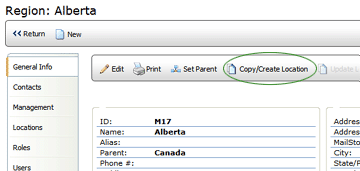
CREATING A LOCATION RECORD FROM A MANAGEMENT RECORD
Notice the CREATE/COPY LOCATION button. Clicking this button allows
you to create a location from this management record, with a direct relationship.
For example, it may become necessary to audit a management record. Since
auditing a management record is not supported, a location record would
first need to be created for the management record. This feature allows
you to quickly and easily create a location record from the management
record, thus eliminating the need to enter duplicate data.
Once a location record is created from a management record, then an UPDATE
LOCATION button becomes available. When you edit the management record,
clicking this button also updates the Location record.
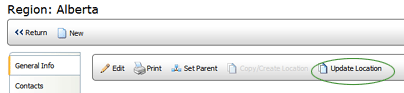
| The CREATE/COPY LOCATION and the UPDATE LOCATION buttons are never both available at the same time. The CREATE/COPY LOCATION button is only available if no identical location record has been created. If the location record has already been created, then only the UPDATE LOCATION button is available. |
Once the management record has been created, associations to forms, locations, users, and roles still need to be defined. However, associations can be made in more than one manner. No single method is correct or incorrect; you may use the method that works best for you.
-- OR --
In other words, when you create a location, for example, you can associate the location with a management level at that time, instead of giving the location direct access here.
Users, locations, and audit forms must already exist in the system before you can make any associations. If they have not yet been created, you may want to define the associations on the other end at the time you create these items.
If you want to create the associations with the management record directly, you may do so on the tabs provided on the left side of the screen. See Management Profile for information on each of these tabs.
