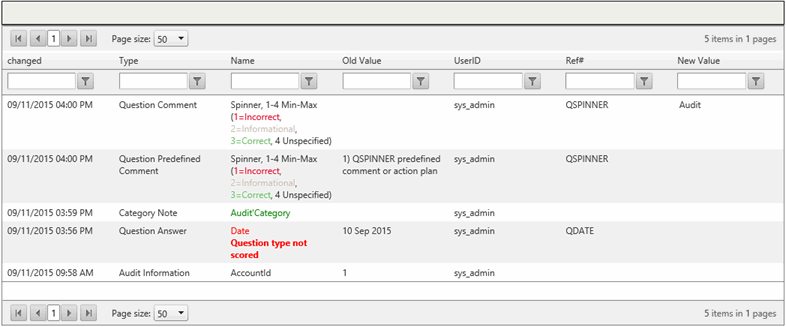

| As of the July 2017 release, if you change the Account ID (Location ID) in the Audit Maintenance Tool (AMT), the change will now carry through to items that are in Corrective Action Management (CAM). This applies only to Location ID changes within the Audit Maintenance Tool. For example, if you change an answer from "Compliant" to "Non-compliant" in the AMT, that change will NOT carry over to CAM. |
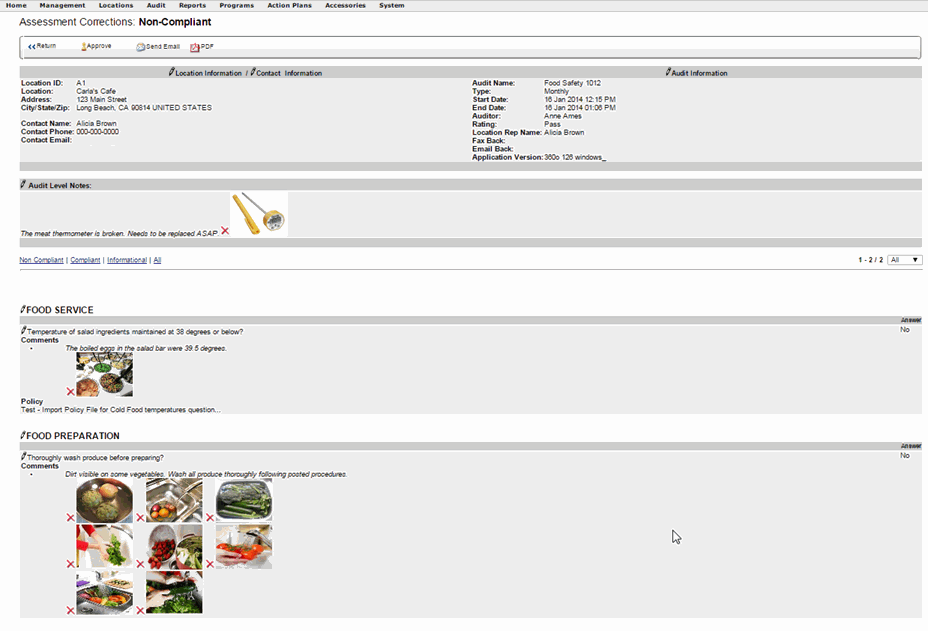
| Adding an image or adding/editing a comment are two separate actions and cannot be completed simultaneously. For example, if you need to add a comment AND upload an image, each action must be completed independently from the other. |
 ADD
AN IMAGE:
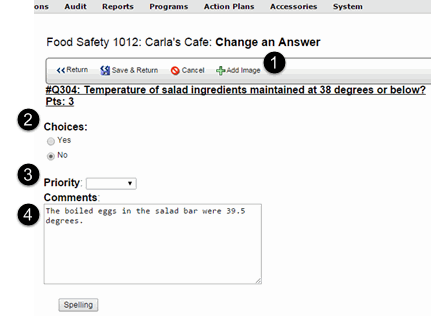
o Click
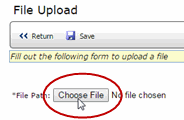
the Add Image icon. The File Upload page will display.
![]()
o
Click CHOOSE FILE to upload
the image you want to add.
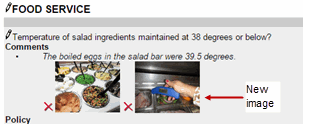
The
new image will display next to the question.
o
Click SAVE.

To delete an image:
o
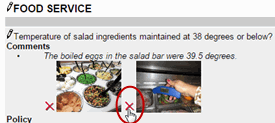
Click the red X to the left
of the image you want to delete. The page will refresh and the image will
no longer be displayed.
 CHOICES: Change the choice response
by selecting YES or NO.
 PRIORITY: Select the priority (Medium
- Urgent).
 ADD OR EDIT A COMMENT:
o
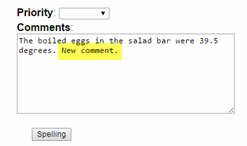
Add your new comment in
the Comments field.
o
Click SAVE & RETURN.

The
new comment will display.

3. When you are done with editing, click RETURN.
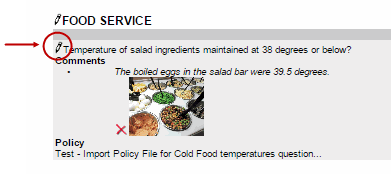
Notice the appearance of the EDIT pencil:
Users without AUDIT RESULTS - VIEW AWAITING APPROVAL permission will only see audit results that have an APPROVED status.
NOTE: Automated feedback is sent whenever the conditions of a feedback rule are met. Therefore, changing any of the engagement data of an audit result may trigger automated feedback to be sent out again. Note that if the Recipient Type is Management Contact and you edit the location, feedback is sent to the Management Contact on record at the time the results were uploaded, not to the contact associated with the new location.
For more information about approvals, see Audit Result Approval 2.0 and Audit Result Approval 2.0 Permissions.
To approve the audit results:
In the event you want to undo the approval of this audit result, click the UNDO APPROVAL button.
The Assessment Corrections
window contains a SEND EMAIL button. This feature allows administrators
to send notification to a list of users informing them that a change has
been made to the results of an audit.
![]()
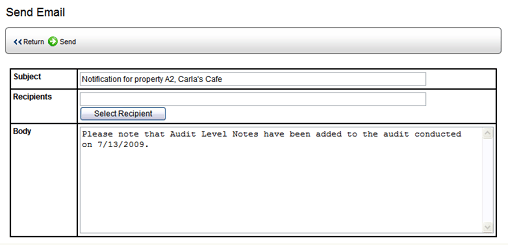
The Subject field contains the LOCATION ID and NAME. You may edit the information in this field.

To view the Change History for the Audit Maintenance Tool:

