

OPTIONAL FEATURE - Contact your RizePoint representative to enable/disable this option. |
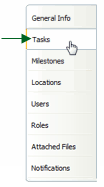
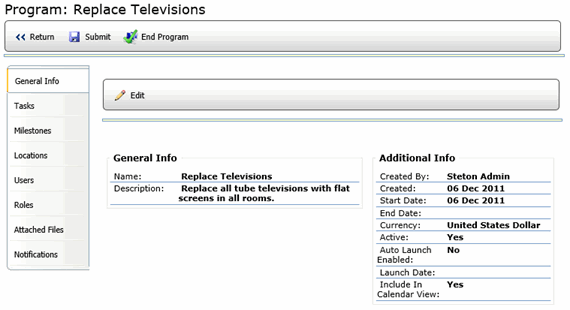
The TASKS tab of the Program profile allows administrators to define specific
tasks that must be completed in order to comply with the program. Note
that each Task Type requires an associated permission. For example, to
create a GENERAL task, you must have the PROGRAM TASK GENERAL TYPE permission.
For a list of Program Compliance permissions, see Creating
a Role and Assigning Permissions. See also Program
Administration.
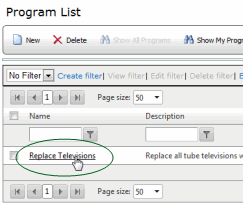
To add a new task:
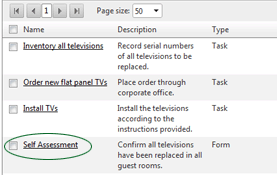
The following task types may be available, depending on your permissions: Task, Form, Verification Audit, and Certification. Note that if your program requires Payment tasks, contact RizePoint to enable this option. For setup instructions, see Preparing to Use Payments on your Site.
CERTIFICATION - This task type allows an administrator to set a reminder for completion of a task or tasks that have non-standard, flexible, recurring due dates. This task type requires that proof of completion (e.g. a certificate, written documentation, etc.) be uploaded to the RizePoint system before the task can be marked complete. See Certifying Compliance.
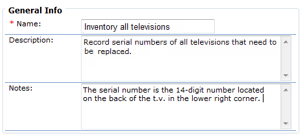
To define the task:
| Only the task types to which you have access are listed. If you only have access to a single Task Type, this step is bypassed. (The task type will be automatically selected, and you'll advance immediately to the next screen.) |
| If the task's due date is non-standard, flexible and recurring, consider setting up a certification task type. For more information, see Certifying Compliance. |
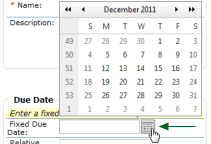
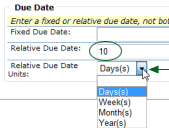
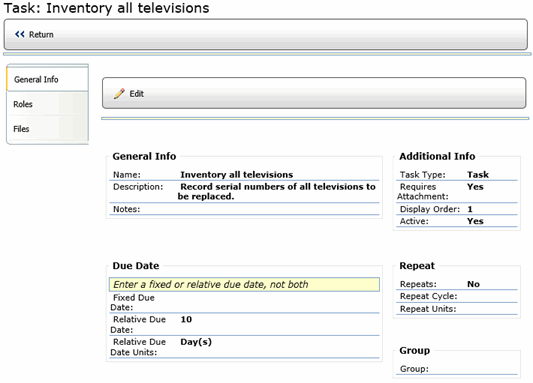
Note that once the program has been launched, this relative date will be replaced with the actual date when the task is due. (For example, if you specify 10 days, and the program is launched on October 10, then October 20 will appear in the Due Date field. If the program is launched on October 15, then October 25 will appear in the Due Date field.)
To add documentation to the task:
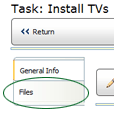
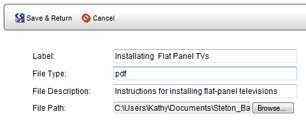
If you want to provide supplemental documentation for the specific task you're creating, you may add it to the FILES tab of the Task profile. The maximum file size allowed is 10 MB. Note that you may add files at a program level and at a task level.
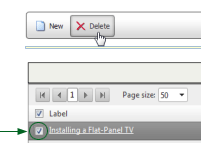
| To delete a file from a task, check the box beside the file(s) you want to delete, then click the DELETE button. |
To specify an audit form and type to be used with a self-audit or verification audit task:
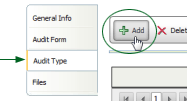
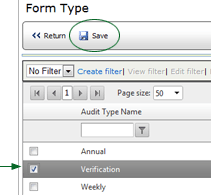
If the task type is FORM (or self-audit) or VERIFICATION AUDIT, then the task requires an audit. You must specify which audit form to use for each required audit. The form must already exist in the system. If you haven't created the form yet, do that now and then return to the AUDIT FORM tab and add the form. In addition, you'll need to specify the audit type of the audit. Remember that the auditor conducting the audit must have access to both the audit form and the audit type specified here.
You may add multiple audit forms. If you have multiple versions of an audit form, you may want to include all versions of the form. However, if multiple audit forms have been specified, you must designate the default form. The default form is always the form that is used at the time the COMPLETE FORM button is clicked. For example, if Form Xv1 is the only audit form specified at the time Location A clicks the COMPLETE FORM button, then that form opens in the audit window, because it is the default form. If, in the meantime, you create a new version, Form Xv2, and replace Form Xv1 with Form Xv2, then Location A will not be able to mark the task as complete. The COMPLETE TASK button won't be available because the form used is no longer in the list. As long as Form Xv1 remains in the list, though, then it may be marked complete. A task cannot be marked complete if the audit form does not appear in this list. |
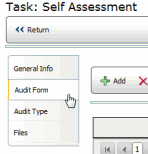
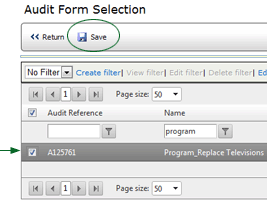
When the task owner clicks the COMPLETE TASK button, this audit form will automatically open in the audit window.
CONFIGURING THE TASKS LIST TO INCLUDE ADDITIONAL INFORMATION
Delegated Task Owners
A location's Primary Contact is, by default, the owner of all tasks
assigned to that location. However, that Primary Contact may designate
responsibility for any task to a Secondary Contact of the location. The
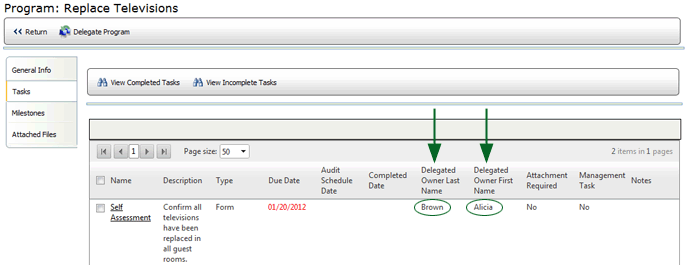
ALL TASKS list can be edited to include columns to display the DELEGATED
OWNER LAST NAME and DELEGATED OWNER FIRST NAME. If you feel that locations
in your system will be delegating tasks often, you may want to configure
the ALL TASKS list to display this information so that the name of the
person responsible for each task is readily available. (Note that if the
ALL TASKS list is configured to display the delegated task owner's name,
but the field is blank, then the Primary Contact is the person responsible
for the completing the task.) See Editing
Tables and Grids.
Program Name
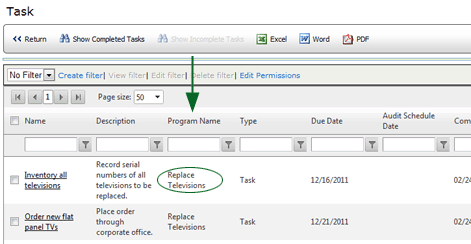
The ALL TASKS list may include tasks from more than one program. Adding
a PROGRAM NAME column to the ALL TASKS grid allows users to easily determine
which program a task belongs to. Editing
Tables and Grids
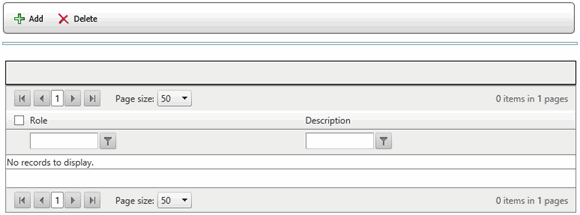
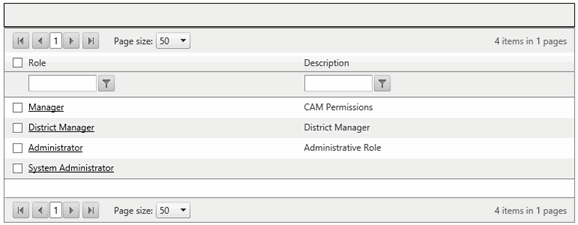
By assigning roles to tasks, you can create tasks that will only be accessible by certain users based on their Role permissions.
To assign a role to a task:



ref: Programs